Getting Started with Invito
This tutorial walks you through setting up Invito from scratch and completing your first booking end-to-end. By the end you will have:
- A running Invito instance
- One CalDAV calendar connected
- One event type configured
- A test booking confirmed
Time required: ~20 minutes.
Prerequisites:
- A server with Docker installed (or Go 1.22+ to build from source)
- An OIDC provider (Keycloak, Authentik, Dex, or any standard OIDC issuer)
- A CalDAV server (Nextcloud, Radicale, Baikal, etc.)
- An SMTP server or relay
Step 1: Prepare your OIDC client
In your OIDC provider, create a new client with these settings:
| Setting | Value |
|---|---|
| Client type | Confidential (server-side) |
| Redirect URI | https://invito.example.com/auth/callback |
| Scopes | openid email profile |
Note down the client ID and client secret.
Ensure the preferred_username claim is included in the ID token. In Keycloak this is part of the default profile scope.
Step 2: Create the configuration
Create an .env file:
INVITO_BASE_URL=https://invito.example.com
INVITO_DB_PATH=/data/invito.db
INVITO_SESSION_SECRET=<run: openssl rand -hex 32>

INVITO_OIDC_ISSUER=https://auth.example.com/realms/main
INVITO_OIDC_CLIENT_ID=invito
INVITO_OIDC_CLIENT_SECRET=your-client-secret

INVITO_SMTP_HOST=smtp.example.com
INVITO_SMTP_PORT=587
INVITO_SMTP_USER=invito@example.com
INVITO_SMTP_PASSWORD=your-smtp-password
INVITO_SMTP_FROM=invito@example.com
Replace placeholder values with your actual credentials.
Step 3: Start Invito
With Docker
docker run -d \
  --name invito \
  --env-file .env \
  -p 8080:8080 \
  -v invito-data:/data \
  ghcr.io/jeboehm/invito:latest
From source
git clone https://github.com/jeboehm/invito.git
cd invito
go build -o invito ./cmd/invito
./invito
Open http://localhost:8080 (or your configured domain). You should see the Invito landing page.
Step 4: Log in
Click Sign in on the landing page. You are redirected to your OIDC provider. After authenticating, you land on the dashboard.
Your username (shown in the top navigation) is derived from your OIDC preferred_username. Your public booking URL is:
https://invito.example.com/{your-username}/
Step 5: Connect a calendar
See How to add a calendar for detailed instructions.
Quick version:
- Go to Dashboard → Calendars → Add calendar.
- Enter your CalDAV URL, username, and password.
- Click Connect. Invito verifies the credentials and performs an initial sync.
Step 6: Set your availability
- Go to Dashboard → Availability.
- Check the weekdays you are available.
- Set start and end times for each day (e.g. Monday 09:00–17:00).
- Click Save.
Step 7: Create an event type
See How to create an event type for details.
Quick version:
- Go to Dashboard → Event Types → New.
- Fill in:
- Title:
30-min intro call - Slug:
intro - Duration:
30minutes
- Click Create.
Your event type is now live at:
https://invito.example.com/{username}/intro
Step 8: Make a test booking
Open the booking URL in a private browser window (to simulate a guest).
- Navigate to
/calendar/{username}/intro. - Select today's date.
- Click an available time slot.
- Fill in a name and email address, then submit.

You should receive a notification email at the address associated with your account.
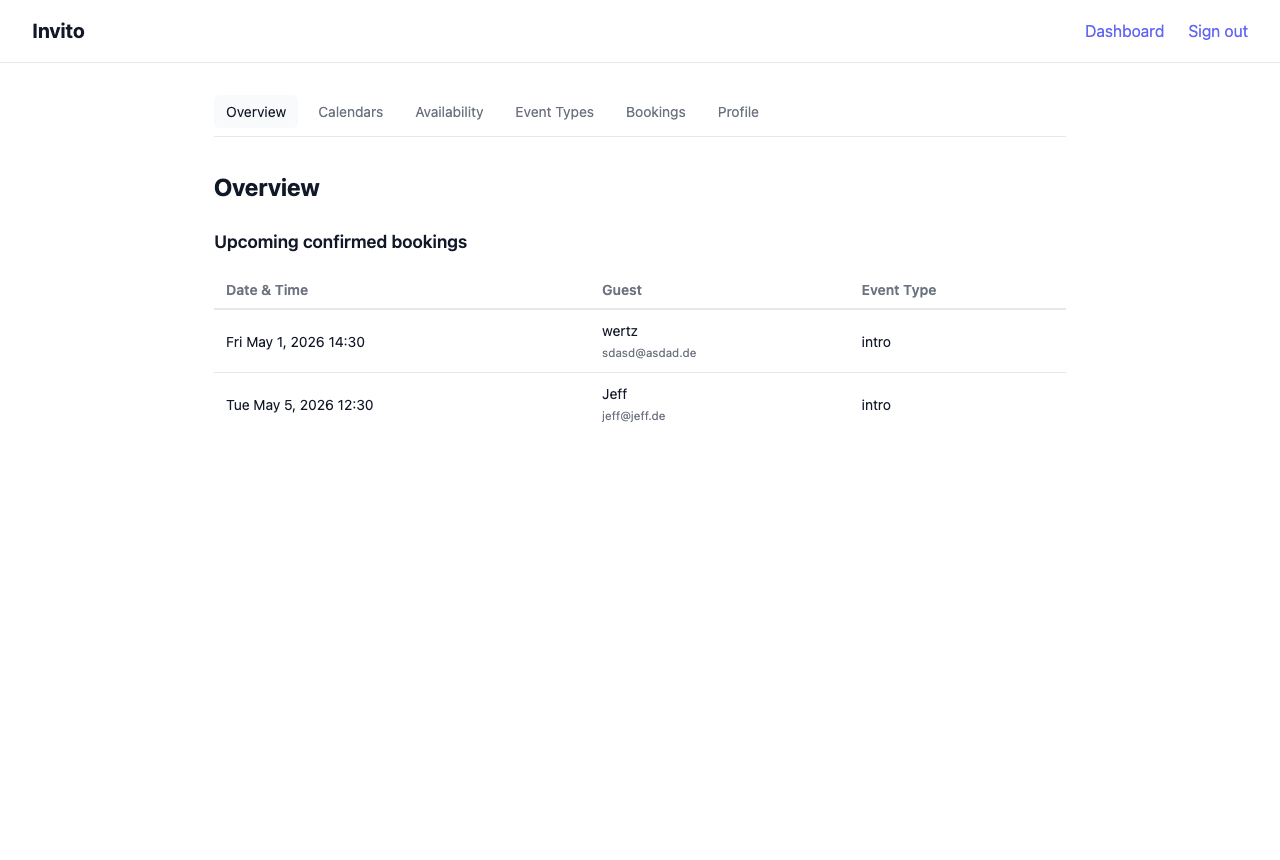
Step 9: Confirm the booking
Open the notification email. Click Confirm this booking.
Invito:
- Marks the booking as confirmed
- Writes an event to your CalDAV calendar
- Sends a confirmation email to the guest address you used
Check your calendar — the event should appear.
You're done
You now have a working Invito instance. Share /calendar/{username}/ with anyone who needs to book time with you, or send direct links to specific event types.
Next steps: